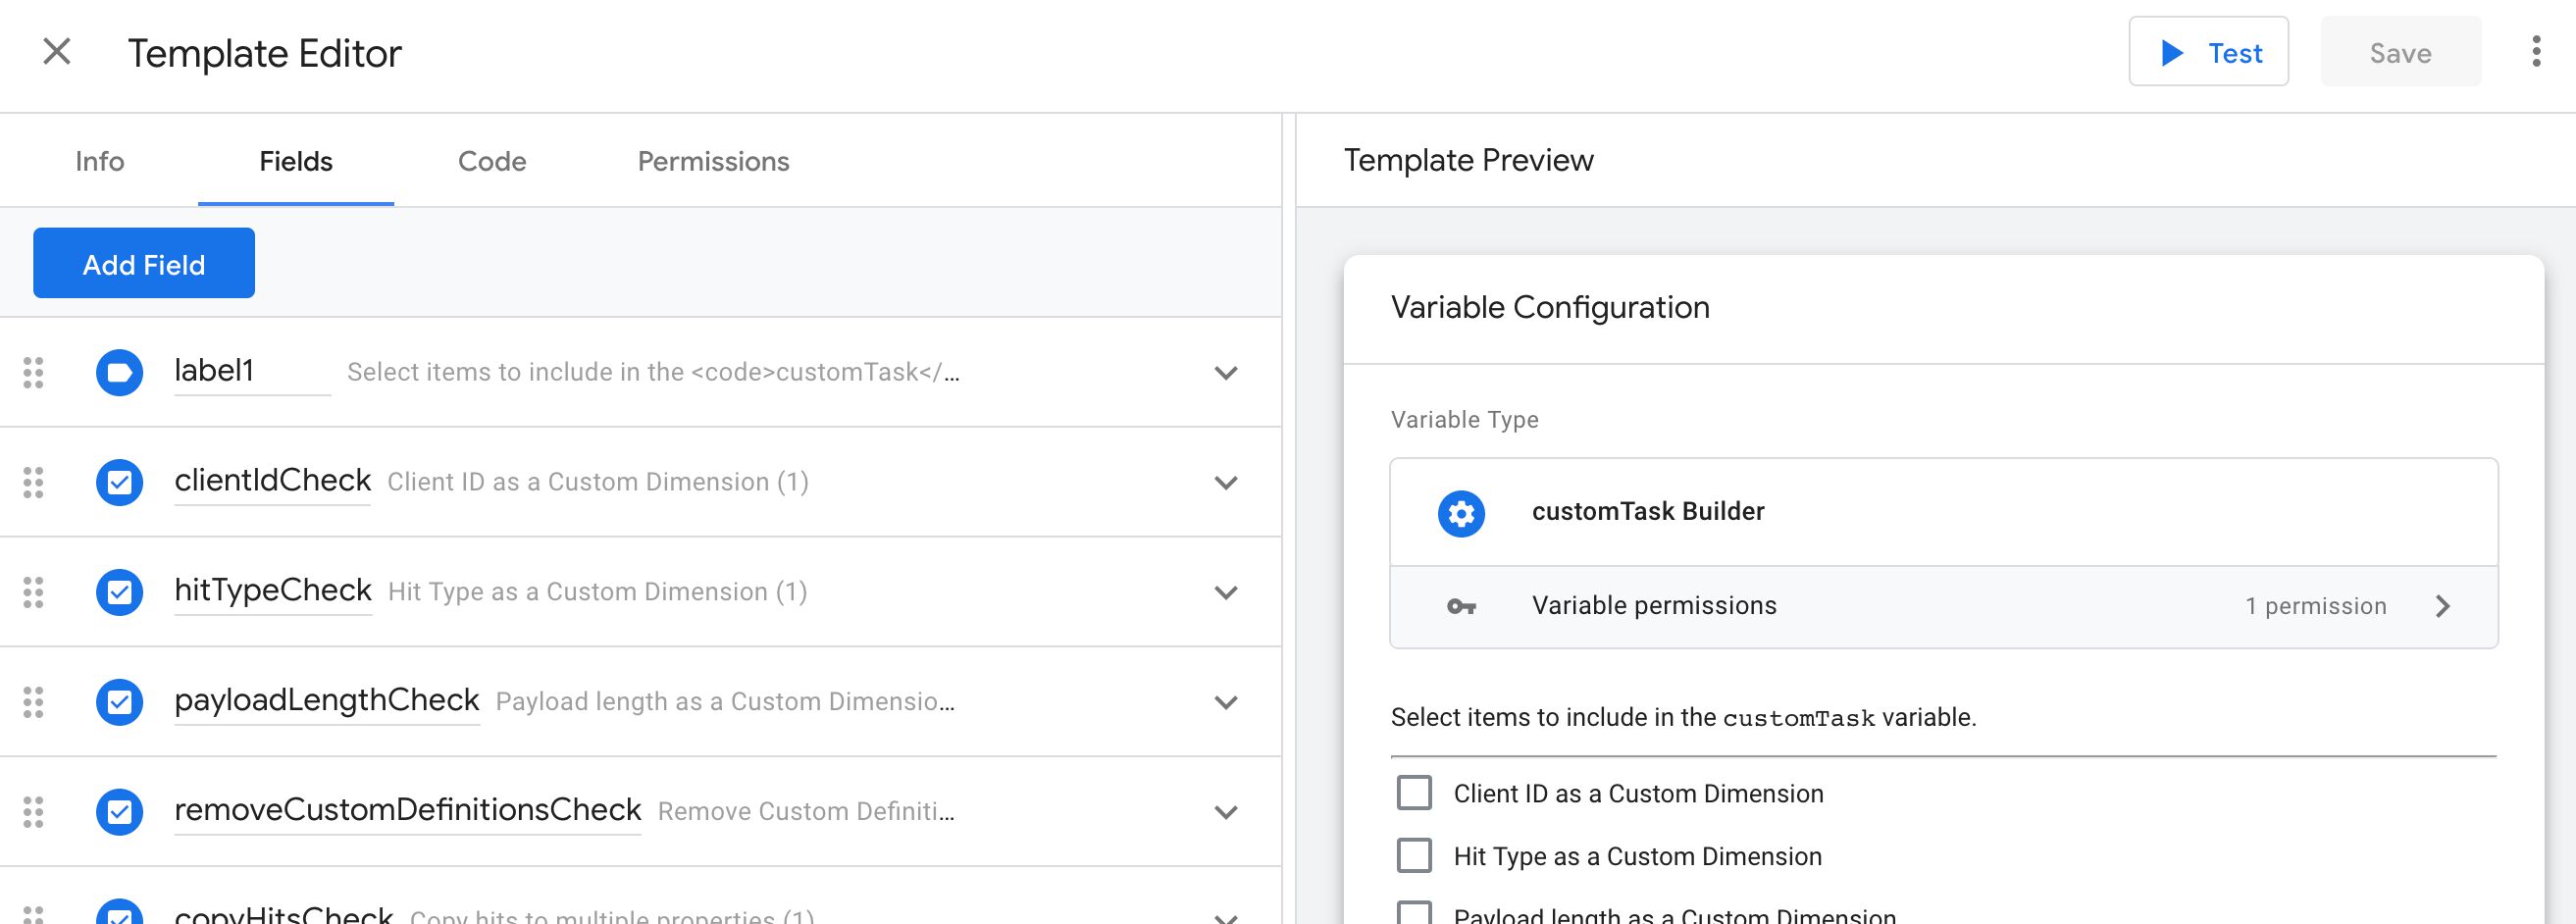
When custom templates were released for Google Tag Manager, I updated my workflow for working with GTM. Instead of instinctively rushing to the Custom HTML tag and the Custom JavaScript variable, I started considering whether the custom script that needed to be deployed could be transformed into a custom template first.
While publishing numerous templates into the community gallery, I always spent some time over the past 12 months tinkering on an extremely complicated template translation: the Snowplow Analytics JavaScript tracker.
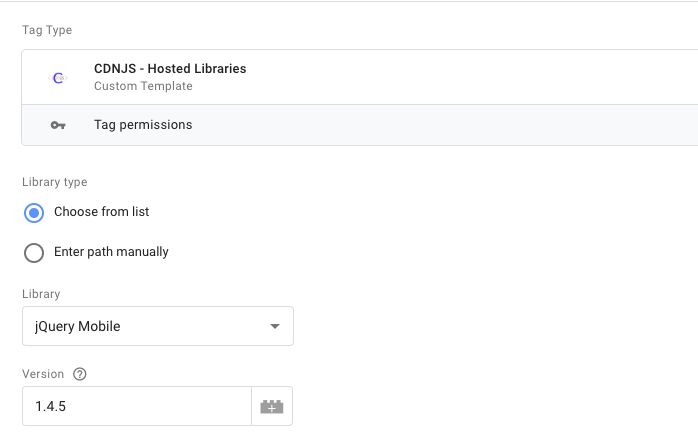
One of the prime things to use Google Tag Manager for is script injection. Loading a third-party JavaScript library is trivial to do with a Custom HTML tag, and works like a charm.
However, using Custom HTML tags for, well, anything, is no longer the preferred way to add custom code to the site. Custom HTML tags are pretty expensive DOM injections, and they can be incredibly dangerous tools (for UX, security, and privacy) in the wrong and/or inexperienced hands.
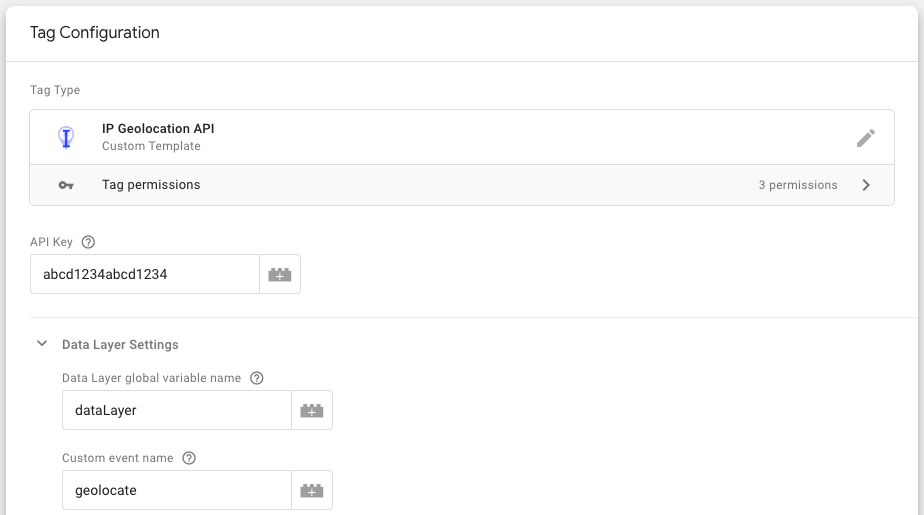
Update 6 April 2020: I updated the template in the gallery to the latest version of the IP Geolocation API SDK, which no longer requires jQuery. Also, the SDK now handles API request caching to browser storage automatically, so the “Enable Session Storage” option was added to the template.
My latest custom tag template tackles a use case I’ve referred to a number of times before, especially in my article on sending weather data to Google Analytics.
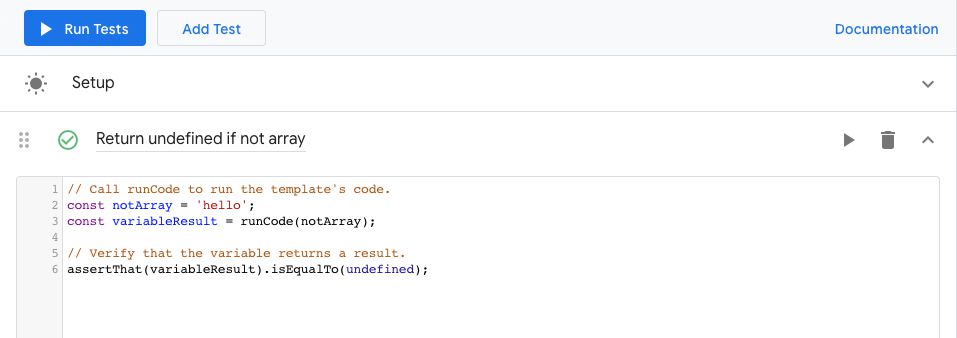
Google Tag Manager introduced the capability to add tests to your Custom Templates. Tests, in this context, refer specifically to unit tests that you write in order to make sure your template code works in a predictable way. Unit tests are also used to drive development, ensuring that you have added contingencies for all the different scenarios that the template, when coupled with user input, might introduce.
In this guide, I’ll introduce how the Tests feature works.
I’ve enjoyed working with custom templates for Google Tag Manager. A lot. So much so that whenever the need to add some custom code to a container emerges, my first thought is how to turn that into a custom template.
Google has been forthcoming in introducing new APIs steadily, and I think the variety of things you can do with template is improving with every new API release.
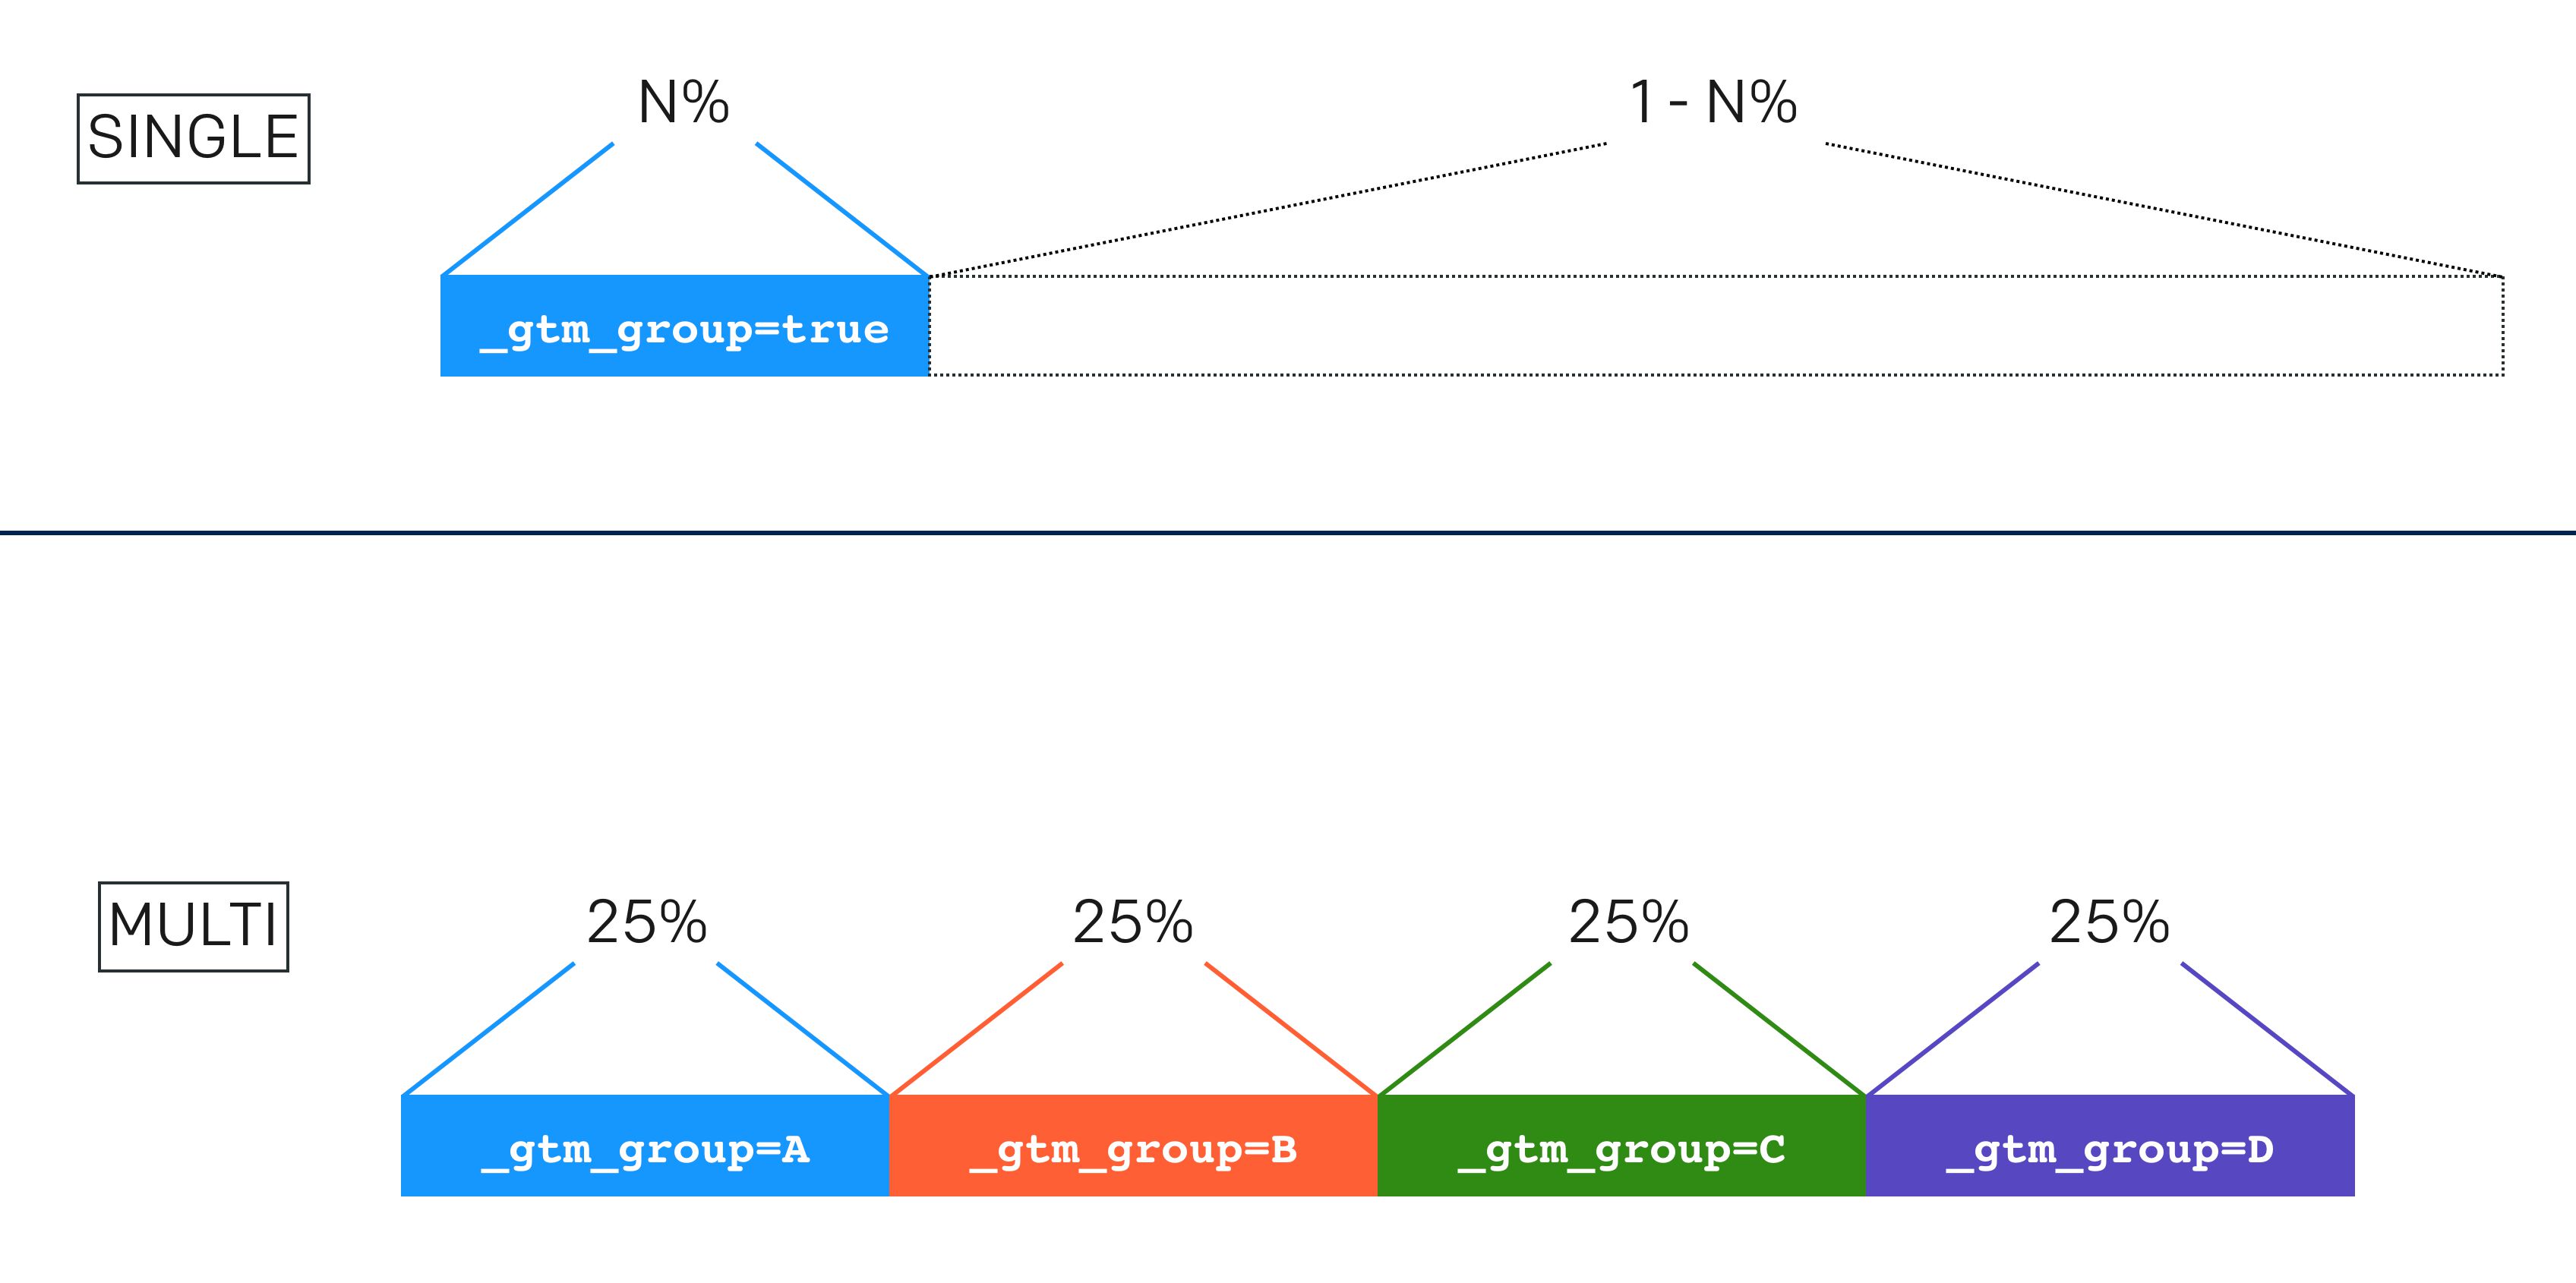
In this article, I’ll show you how to use a simple tag template for distributing your users to groups, based on a random split.
After the recent release of Custom Templates for Google Tag Manager, my mind has been occupied by very little else. However, I have a nagging feeling that due to how involved the feature set is, there’s still a lot of demystifying that needs to take place before templates are fully embraced by the GTM user base.
In this article, I want to show you a concrete example of template creation. It’s going to be much more ambitious than the simple walkthrough I explored in the main guide.
Last updated 12 August 2020: Added details about server-side tagging.
As I have finally managed to pick up my jaw from the floor, it’s now time to tell you what’s got me so excited. Google Tag Manager recently released a new feature called Custom Templates. Actually, it’s not fair to call it a feature. It’s a full-blown paradigm shift in how we use Google Tag Manager. It’s a suite of features designed to help brands, companies, and users create and share their own custom JavaScript and HTML setups with ease, while taking care that the code is optimized for delivery in the web browser.