Getting cross-domain tracking right in Google Analytics is difficult. Even if you use Google Tag Manager. There are many known issues when cross-domain tracking iframes, for example.
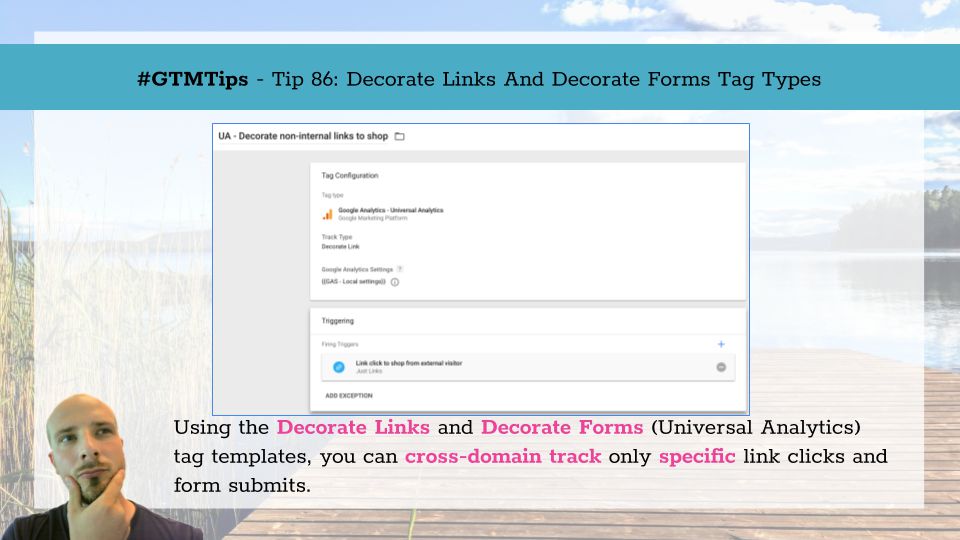
Google Tag Manager implements the cross-domain tracking plugin quite handily via the Universal Analytics tag template, and often the easiest way to track links and form submits is to use the Auto-Link Domains option, as described in this great series of posts on cross-domain tracking by Bounteous.
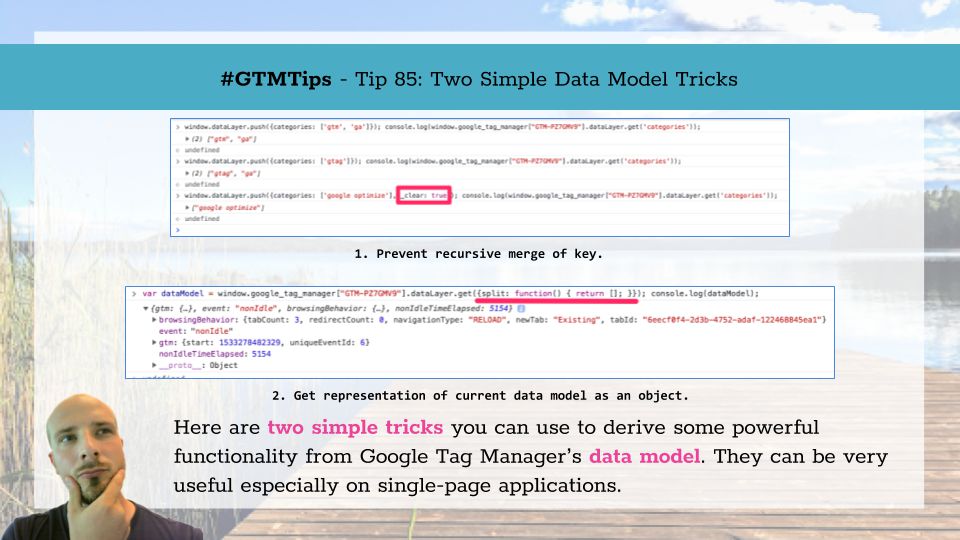
One of the more difficult concepts in Google Tag Manager is the data model. In essence, the data model is what Google Tag Manager uses to populate the Data Layer variable. You might be tempted to think that it’s the same thing as the dataLayer array, but it’s not.
The data model is a representation of the keys and values you push into dataLayer. Whenever you push any key into dataLayer, GTM grabs this key and updates the corresponding key in its data model with the new value, or in the case of objects and arrays merges the old and the new value together.
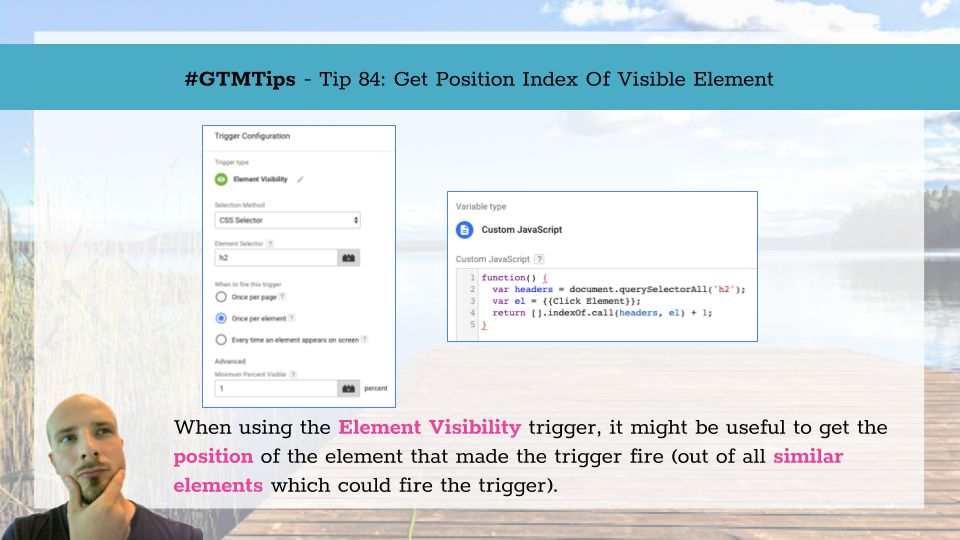
It’s time for a very simple #GTMTips article (I know, I always write that these are simple tips, but then they escalate into complex behemoths). Today, we’ll cover a nifty trick you can use with the Element Visibility trigger in Google Tag Manager. This tip was inspired by a question from Eugen Potlog in the Google Tag Manager Facebook group.
The use case is that you have an Element Visibility trigger firing for a number of elements all sharing the same CSS selector.
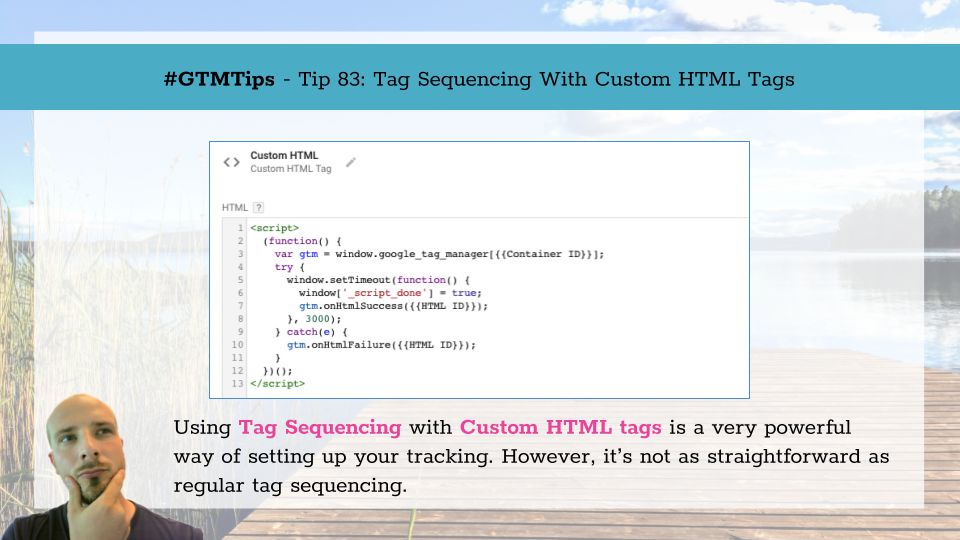
Tag sequencing was introdced to Google Tag Manager in late 2015. Its main purpose was to facilitate the sequential firing of tags that have dependencies with each other. Due to the asynchronous nature of third-party libraries like Google Tag Manager, it’s difficult to establish an order of completion with tags that compete for their chance to fire.
Tag sequencing changed this, as it allows you to establish setup and cleanup tags - the former firing before the main tag, and the latter after.
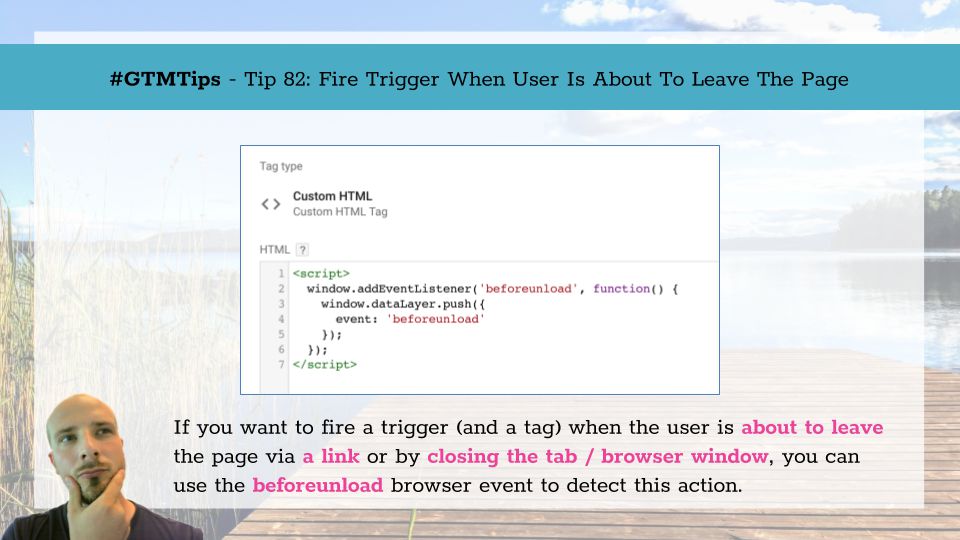
One of the great ways to leverage Google Tag Manager in your web analytics tracking is to make use of all the possible custom events that the browser has to offer. One such event is beforeunload. It’s dispatched in the browser when the user is about to unload the page. This means, typically, that the user is about to leave the page after clicking a link, or they are about to exit the browser by either closing the tab or the entire window.
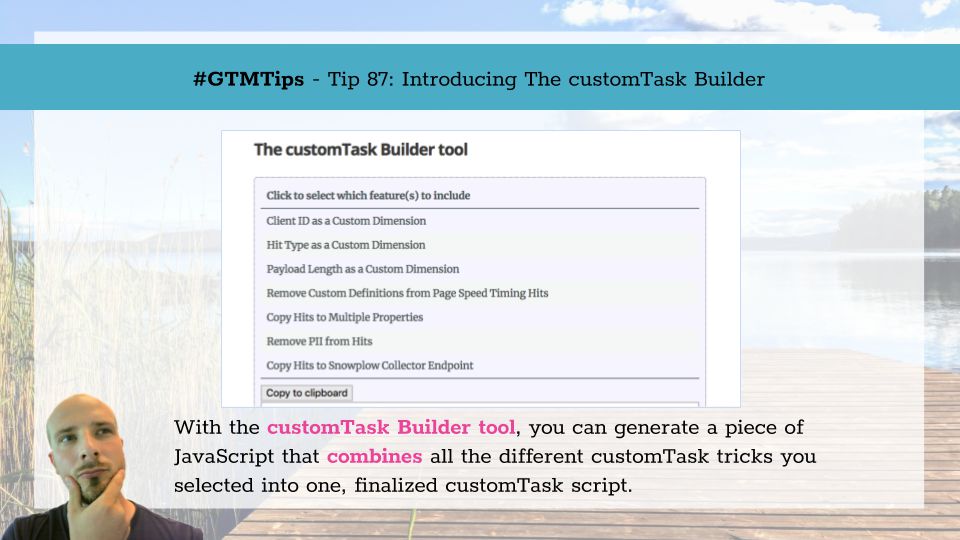
I’ve spent a considerable amount of time talking and writing about how to improve the granularity of your Google Analytics data, especially when using Google Tag Manager. I’ve also gone on and on and on (and on) about customTask, which makes adding metadata to the Google Analytics hits dispatched from your website a breeze.
In this article, I’ll introduce a simple way to add yet another level of detail to your GA hits, using customTask as the method of choice.
When working with the analytics of single-page applications (SPA), there are a number of things to pay attention to. For example, you need to make sure that Google Analytics doesn’t break your session attribution, and that you are not inadvertently inflating your page speed timing metrics. Actually, there are so many “gotchas” when it comes to SPA tracking in tools like Google Analytics that you just can’t get by with a plug-and-play implementation.