One of the most prominent features of Google Tag Manager since the dawn of time (actually, late 2012) is the Custom HTML tag. This little piece of magic lets Google Tag Manager inject an HTML element to the page. Since time immemorial (still late 2012), it’s allowed us to turn Google Tag Manager from a sandboxed prisoner of the native tag templates to a no-holds-barred client-side content management solution.
In this article, we’ll discuss how the Custom HTML tag works, and what you might be tempted to use it for.
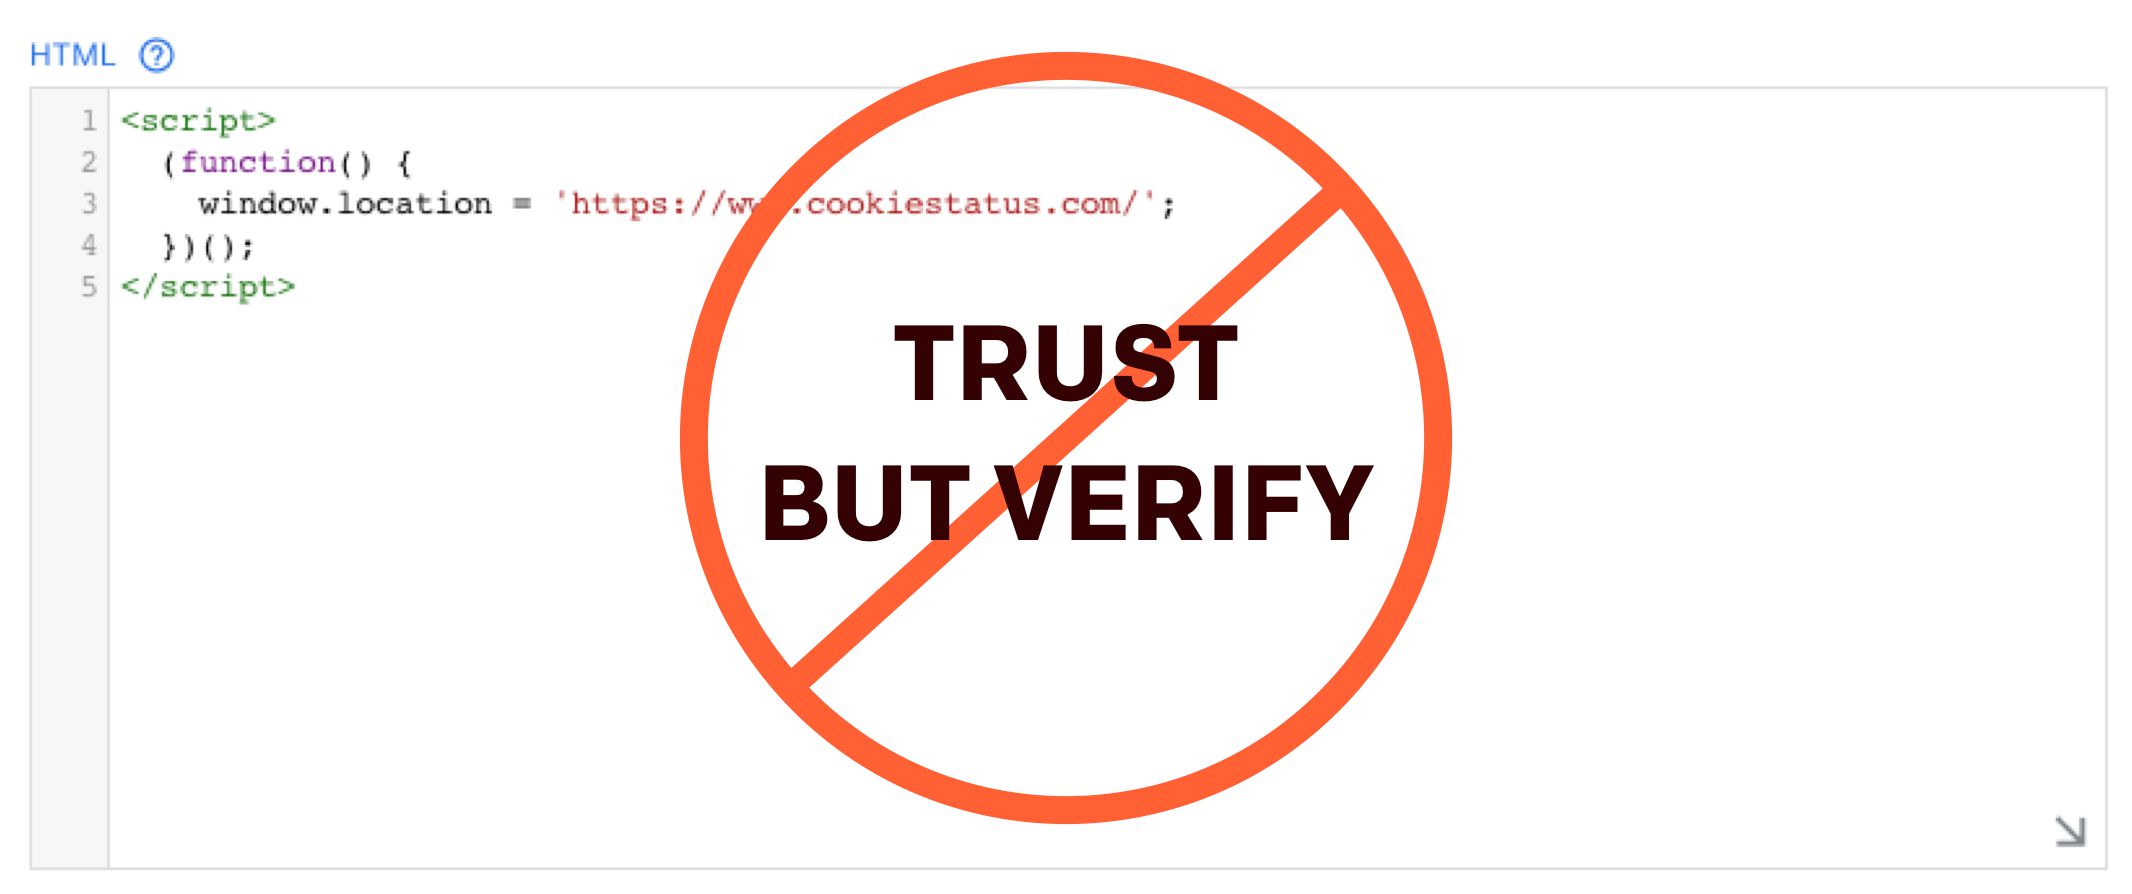
It’s been a while since I’ve last written a bona fide Google Tag Manager trick, so here comes. This was inspired by Bart Gibby’s question in Measure Slack.
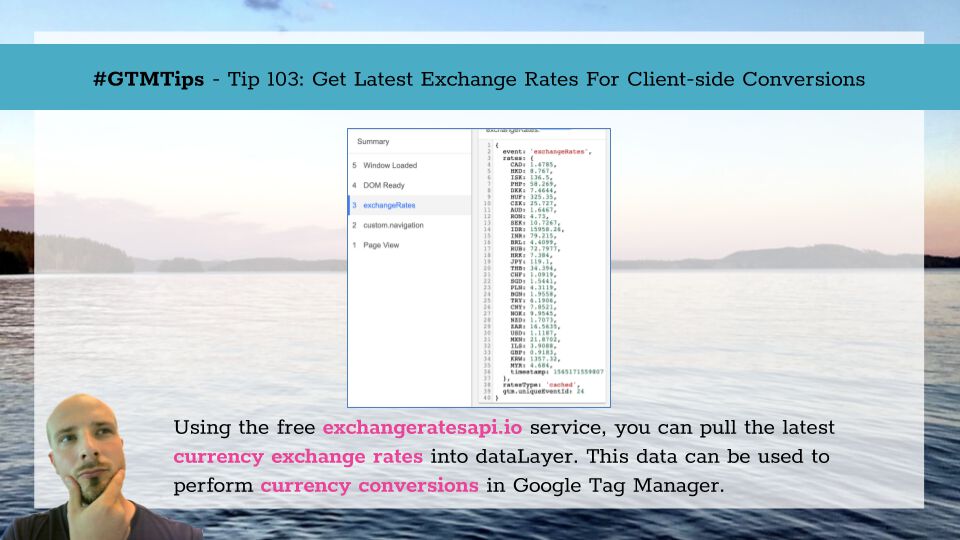
The purpose is to fetch the latest currency exchange rates from the exchangeratesapi.io service, cache them using sessionStorage, and push the results into dataLayer. From dataLayer, they can then be utilized in Custom JavaScript variables and custom variable templates to perform client-side conversions.
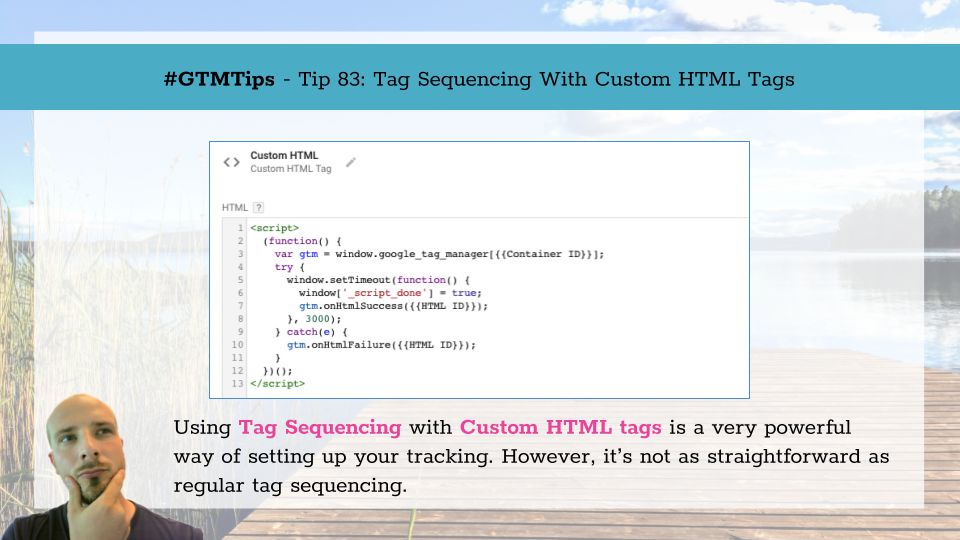
Tag sequencing was introdced to Google Tag Manager in late 2015. Its main purpose was to facilitate the sequential firing of tags that have dependencies with each other. Due to the asynchronous nature of third-party libraries like Google Tag Manager, it’s difficult to establish an order of completion with tags that compete for their chance to fire.
Tag sequencing changed this, as it allows you to establish setup and cleanup tags - the former firing before the main tag, and the latter after.
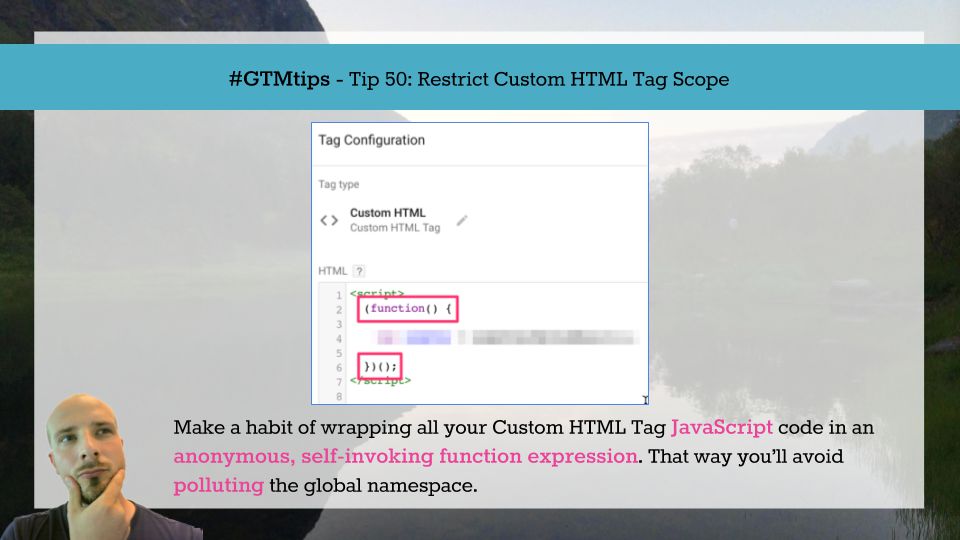
What better way to celebrate the 50th #GTMTips article than, well, a really useful Google Tag Manager tip?! This tip is so useful and simple; it encapsulates everything that I had in mind when starting this series. The tip is about restricting scope of Custom HTML Tags. This is an important concept, because it’s possible that you’re stuffing your page’s global JavaScript namespace with all sorts of junk, and thus inadvertently causing conflicts.
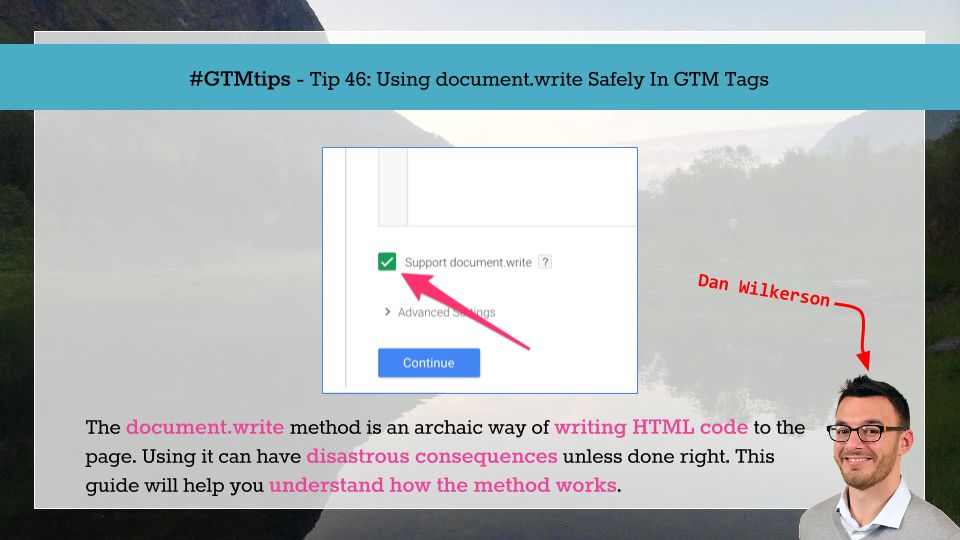
This article is a guest article by someone from the analytics community I really look up to. Dan Wilkerson is an analytics developer at Bounteous, a company I hold in high esteem. Dan is one of the smartest technical analytics experts out there, and a large bulk of the awesome scripts and hacks that Bounteous produces (almost on a daily basis) have been orchestrated by him. So I’m very pleased to give the floor to Dan, so that he can tell you all about using the pesky document.
Form abandonment isn’t always easy to define. Most often, it refers to when someone starts to fill in an HTML form, but leaves the page without submitting it. As a definition, this works nicely. However, with multi-page forms it naturally refers only to the last page of the form. Also, especially with government institutions, forms can be saved to be submitted later. Here, again, form abandonment must be reconsidered.
In this article, I’ll go over four different ways to track form abandonment in Google Analytics, using Google Tag Manager to setup the tracking.
If you read my previous post on fetching the Client ID from the Universal Analytics tracker object with Google Tag Manager, you might have agreed with me that it sucks you can’t access the tracker object interface in real time using Google Tag Manager. This is because all of the set commands you add to a Universal Analytics tag template take place before the analytics.js is loaded and the tracker object is properly created.