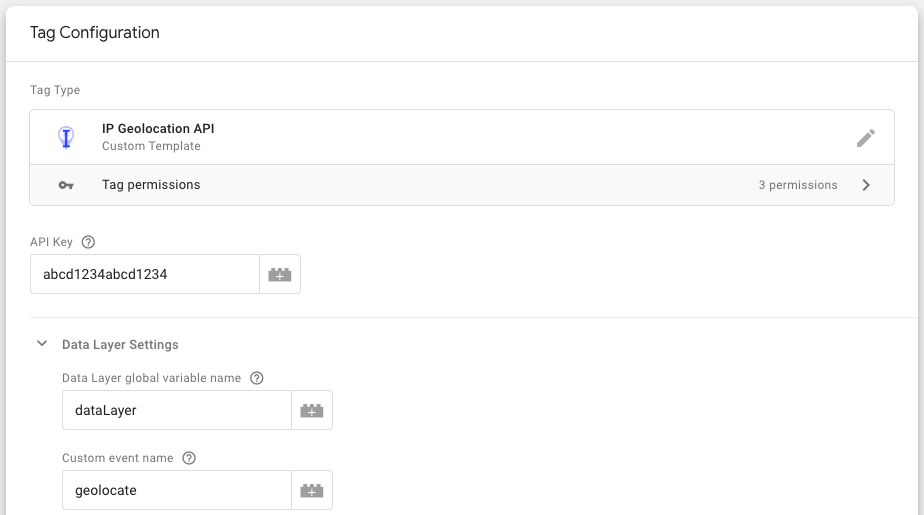
Google Tag Manager now lets you add unit tests directly to your custom templates. This is useful, since it allows you to control the code stability of your templates, especially if you’ve decided to share those templates with the public.
I recently shared a general guide for how template tests work, but I wanted to expand the topic a little, and share with you two walkthroughs of custom template tests: one for a variable template and one for a tag template.
The Simmer Newsletter
Subscribe to the Simmer newsletter to get the latest news and content from Simo Ahava into your email inbox!
Google Tag Manager introduced the capability to add tests to your Custom Templates. Tests, in this context, refer specifically to unit tests that you write in order to make sure your template code works in a predictable way. Unit tests are also used to drive development, ensuring that you have added contingencies for all the different scenarios that the template, when coupled with user input, might introduce.
In this guide, I’ll introduce how the Tests feature works.
In Google Analytics: App + Web, you collect events. One event differs from another event by the name it uses. An event with the name page_view is different from, say, an event with the name file_download.
This is all run-of-the-mill stuff. You know this.
However, the fundamental change that App + Web introduces, when compared to Universal Analytics, is how event parameters are collected and processed.
This gets more complicated than it should be.
There are lots of different readability formulas out there, which seek to provide an index on how readable any given excerpt of text is. Typically, these formulas output a grade-level score, which indicates, roughly, the level of education required to read the text excerpt with ease.
Any “quality index” that seeks to reduce the complexity of something as multi-faceted as reading should be subject to scrutiny. This is true for Bounce Rate, this is true for Time On Page, and this is true for a readability score.
I’ve written about outbound link click tracking before. It’s a very solid way to track interactions on the site, as clicking a link that leads away from a site is a signal of … well, something.
In Google Tag Manager it’s now extremely easy and efficient to track outbound link clicks, thanks to the introduction of a new configuration in the Auto-Event variable.
This article will introduce the new method and show you how you can quickly set it up!
When previewing Custom HTML tags in Google Tag Manager you’ve almost certainly run into a situation where the GTM variable shows up as a weird JavaScript method resembling something like this:
google_tag_manager["GTM-ABCD123"].macro(15)
And this is when you were expecting it to show the actual, resolved value!
It doesn’t help that every now and then the preview mode actually shows to correct value in the preview mode.
What’s up with that? Well, there’s a fairly logical explanation to this.
There are thousands upon thousands of bots, crawlers, spiders, and other creepy-crawlies out there doing nothing but crawling through websites and harvesting the content within for whatever purposes they have been fine-tuned to. While Google Analytics provides a bot filtering feature to filter out “spam” and “bot traffic” from views, this is far from comprehensive enough to tackle all instances of bot traffic that might enter the site.
You might have noticed bot traffic in your data even if you have bot filtering toggled on.