One of the most prominent features of Google Tag Manager since the dawn of time (actually, late 2012) is the Custom HTML tag. This little piece of magic lets Google Tag Manager inject an HTML element to the page. Since time immemorial (still late 2012), it’s allowed us to turn Google Tag Manager from a sandboxed prisoner of the native tag templates to a no-holds-barred client-side content management solution.
In this article, we’ll discuss how the Custom HTML tag works, and what you might be tempted to use it for.
One of the prime things to use Google Tag Manager for is script injection. Loading a third-party JavaScript library is trivial to do with a Custom HTML tag, and works like a charm.
However, using Custom HTML tags for, well, anything, is no longer the preferred way to add custom code to the site. Custom HTML tags are pretty expensive DOM injections, and they can be incredibly dangerous tools (for UX, security, and privacy) in the wrong and/or inexperienced hands.
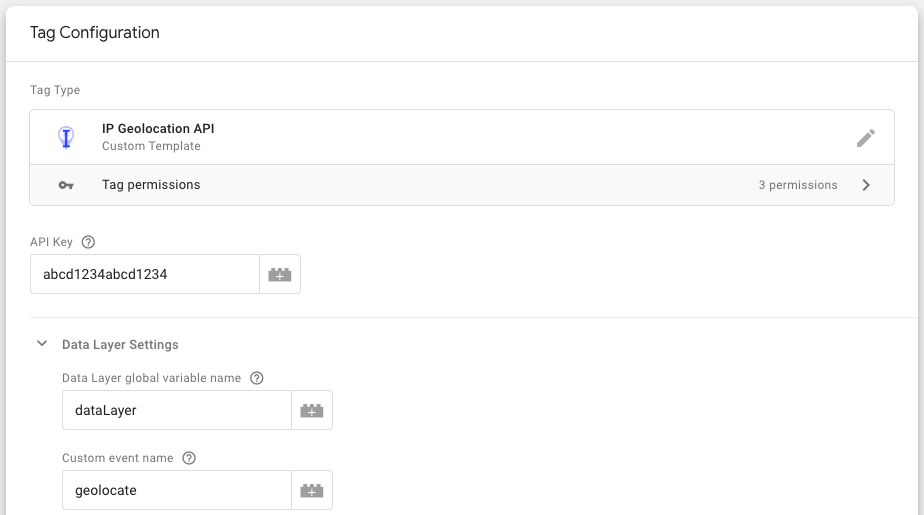
Update 6 April 2020: I updated the template in the gallery to the latest version of the IP Geolocation API SDK, which no longer requires jQuery. Also, the SDK now handles API request caching to browser storage automatically, so the “Enable Session Storage” option was added to the template.
My latest custom tag template tackles a use case I’ve referred to a number of times before, especially in my article on sending weather data to Google Analytics.
Universal Analytics utilizes two components (by default) to attribute a browser session to a specific campaign: query parameters in the URL and the referrer string.
The page URL is sent with every hit to Google Analytics using the Document location field, which also translates to the &dl parameter in the Measurement Protocol.
The referrer string is sent with a hit to Google Analytics using the Document referrer field, as long as the referrer hostname does not exactly match that of the current page and the referrer string is not empty.
Google Tag Manager introduced the capability to add tests to your Custom Templates. Tests, in this context, refer specifically to unit tests that you write in order to make sure your template code works in a predictable way. Unit tests are also used to drive development, ensuring that you have added contingencies for all the different scenarios that the template, when coupled with user input, might introduce.
In this guide, I’ll introduce how the Tests feature works.
In Google Analytics: App + Web, you collect events. One event differs from another event by the name it uses. An event with the name page_view is different from, say, an event with the name file_download.
This is all run-of-the-mill stuff. You know this.
However, the fundamental change that App + Web introduces, when compared to Universal Analytics, is how event parameters are collected and processed.
This gets more complicated than it should be.
There are lots of different readability formulas out there, which seek to provide an index on how readable any given excerpt of text is. Typically, these formulas output a grade-level score, which indicates, roughly, the level of education required to read the text excerpt with ease.
Any “quality index” that seeks to reduce the complexity of something as multi-faceted as reading should be subject to scrutiny. This is true for Bounce Rate, this is true for Time On Page, and this is true for a readability score.